For rapid prototyping & AI-built apps
Your idea works locally.
Give it a URL.
Build with an AI coding agent. Deploy with Kipper. Share a working prototype over HTTPS, running on a server you control.
You have probably seen the workflow: describe an idea to a coding agent, iterate until it looks right, then ask the agent to put it online. Now a colleague can try it, a customer can react to it, and you can learn something that a screenshot cannot tell you.
You can use that workflow with Kipper, too. Give your agent the Kipper skill and access to your app's repository and an approved cluster. It can use the kip CLI to deploy the app and check the result.
The starting point is a Linux server. Install Kipper once, then use that platform for successive prototypes, subject to the server's capacity. Kipper provides the deployment tools, routing and web console. You remain responsible for the server, its updates and the apps you put on it.
A shareable address before you choose a domain
Kipper gives each cluster a kipper.run name. Apps get their own addresses beneath that shared domain. You can send someone a link without first buying a domain, editing DNS records or requesting an app certificate.
Someone opens your URL
Browser or API client
Kipper gateway
Shared wildcard HTTPS certificate
Routes the request to your cluster
Your server
Kipper routes to your running app
HTTPS from the browser to the gateway, then a separate HTTPS connection to your cluster.
The gateway's wildcard certificate provides HTTPS for your kipper.run app address. Your app runs on your server.
From repository to running prototype
Put your first idea online
This example deploys a Git repository with a Dockerfile. Your app should build successfully, listen on 0.0.0.0 at its configured port, and have its required configuration available. A static website needs a container that serves its built files. An API needs its runtime and any backing services.
1. Prepare your server once
Have a supported Linux server with a public IP, root SSH access and enough capacity for Kipper and your apps. Install the CLI on your computer using the getting-started guide, which covers server requirements, firewall ports and Windows instructions.
On Linux or macOS, replace the example IP, key path and email below. Complete browser sign-in when prompted, then check the platform status. If your cluster is already running, go straight to step 2.
kip install --host 203.0.113.10 \
  --ssh-key ~/.ssh/id_ed25519 \
  --admin-email admin@example.com
kip status
The default cluster name comes from the server's IP. You can also choose an available name such as lab.kipper.run at install time. See cluster names and domains.
2. Deploy the app and trigger its build
Create a project for your prototypes. Replace the repository placeholder, branch and port with your app's values. This example assumes a public repository with a Dockerfile at its root and an app listening on port 3000.
kip project create prototypes --environments demo
kip app deploy --name idea \
  --git https://github.com/YOUR_ACCOUNT/YOUR_REPO.git \
  --branch main --port 3000 \
  --project prototypes --environment demo
kip app rebuild idea --project prototypes --environment demo
The deploy command configures the app and its Git source. The rebuild command starts the build. For private repositories, configure repository credentials using the Git provider guide. Store app credentials as secrets.
3. Check the build, then open the URL
kip app build-logs idea --project prototypes --environment demo
kip app list --project prototypes --environment demo
kip app info idea --project prototypes --environment demo
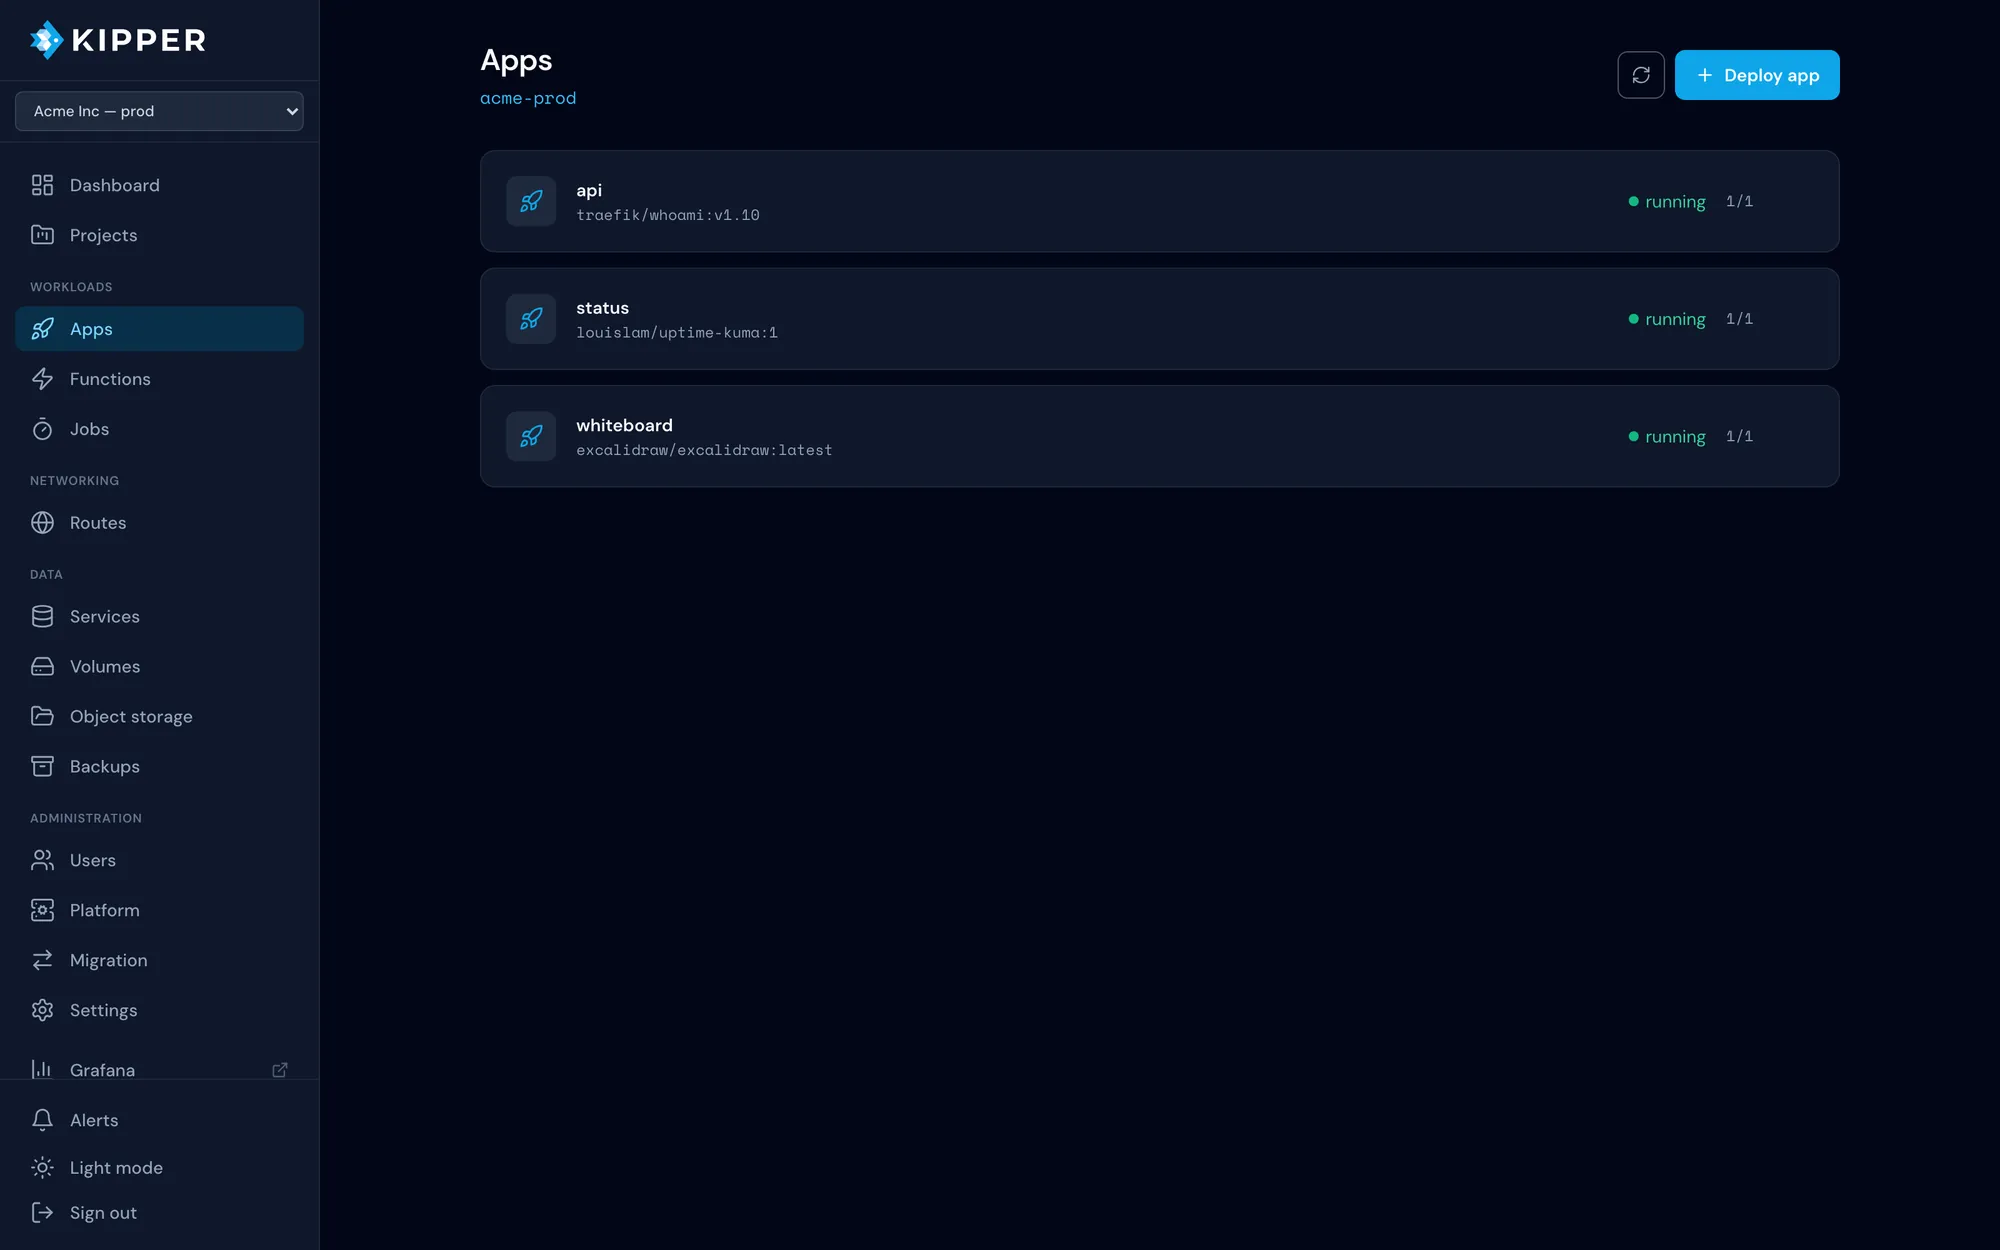
Wait for the build and rollout to complete, then open the public URL reported by Kipper. A route can exist before the app is ready. Test the main user journey as well as the homepage: submit a form, call the API or try the interaction you want feedback on.
For a cluster named lab.kipper.run, a typical app address has the shape https://idea--lab.kipper.run. That is an illustration, not a live demo link. Use the actual URL Kipper reports for your deployment.
4. Iterate from real feedback
Ask someone to try the prototype. Make a change with your agent, commit and push it to the configured branch, then rebuild. The existing app URL remains the place to try the next version.
kip app rebuild idea --project prototypes --environment demo
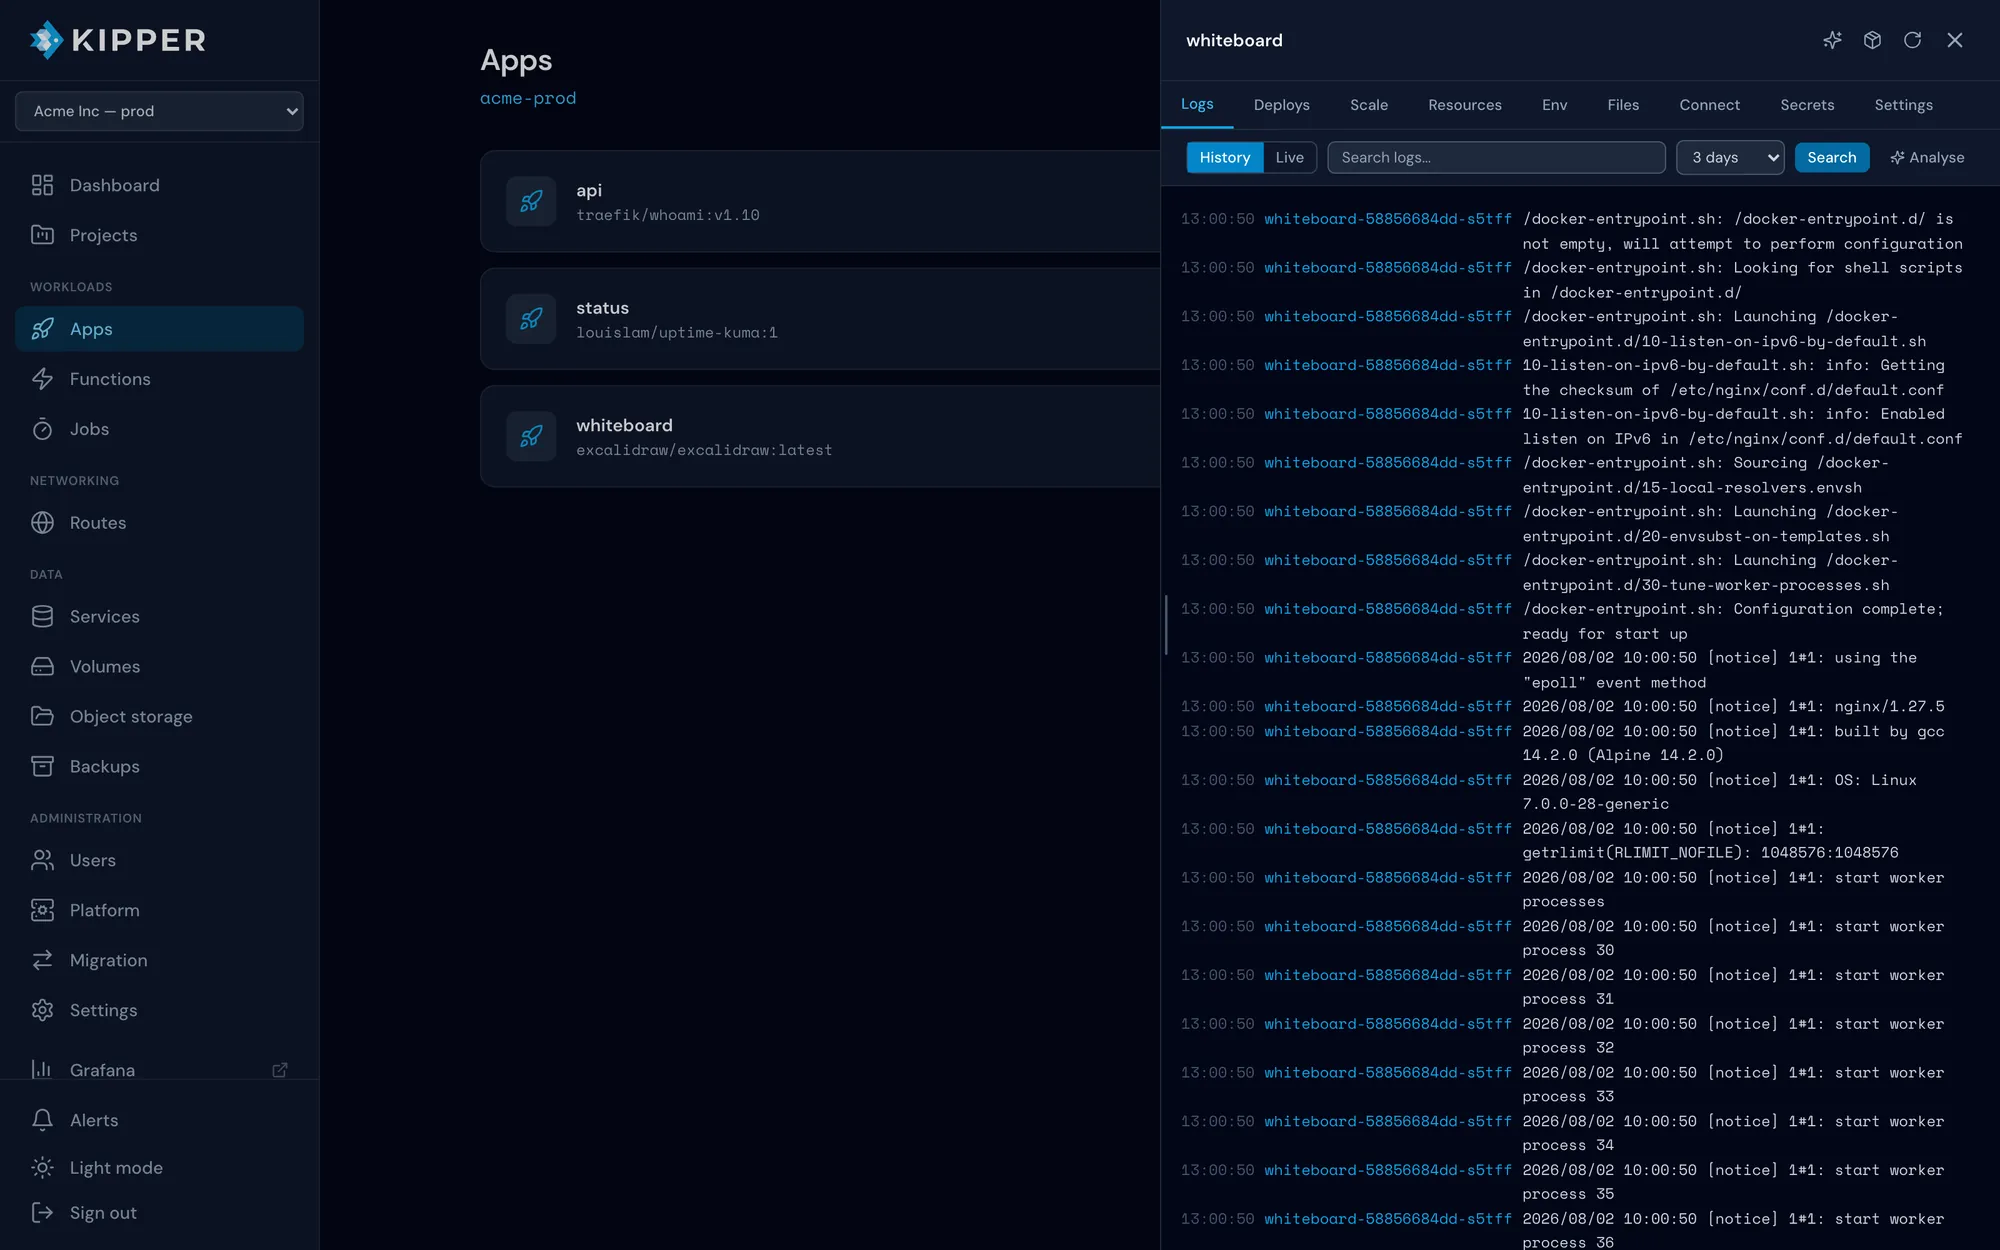
kip app logs idea --project prototypes --environment demo
When you want builds on push, configure a Git webhook. You can add databases and caches as the prototype grows. Bind them to the app and run the migrations and seed steps it needs.
Ask your agent for the whole deployment
Load Kipper's SKILL.md using your agent's skill setup. It describes the CLI, deployment workflow and common pitfalls. Then provide the app repository, approved target and a concrete definition of “working.”
Here is a brief to adapt. Browser sign-in still needs your participation, and the agent needs access to the repository and any required credentials.
Example agent brief
Use Kipper's SKILL.md to deploy this prototype.

Use my approved cluster and project prototypes / demo.
Inspect this repository and its build instructions.
Check the Dockerfile, listening port and required configuration.
If a Dockerfile is missing, create and validate one for this app.
Keep credentials in secrets and use synthetic demo data.

Deploy with kip, trigger the Git build and check the rollout.
Ask me to sign in through the browser when required.
Verify the public HTTPS URL and the app's main user journey.
Report failed checks or missing credentials instead of guessing.
Return the URL, deployed commit and where to inspect logs.
Do not change other projects or production environments.
When the idea deserves its own domain
Keep the app and change its public route. Point your domain's A record at your server, then set that hostname in the app's Route panel. Once DNS resolves correctly, Kipper's cert-manager issues and renews the Let's Encrypt certificate automatically.
Start with kipper.run
Shared gateway, wildcard HTTPS certificate and no DNS records for you to configure.
Move to your domain
Traffic goes directly to your server. You configure DNS, and Kipper manages the domain's certificate.
Allow for DNS propagation and certificate issuance before sharing the new address. Update any app URLs, OAuth callbacks and allowed origins that used the previous hostname. The custom-domain guide covers the routing details.
A prototype you can keep building on
A small website can become an app with an API and a database on the same platform. Your agent can help with each step, while you keep access to the code, deployment configuration and running system.
Before inviting real users, add the authentication, backups and operational checks the app needs. HTTPS protects the connection. Access controls decide who can use the prototype.