Integration & verification
Run the app with its database, cache or queue. Exercise the connections between components against a deployed system.
For QA, integration & verification engineers
Turn a Linux server into a place to test your app. Kipper brings Kubernetes, HTTPS, databases and a web console together, so you can get from a build to a working test environment.
Open source · Self-hosted · Your existing test tools
Your app
Git repository or
container image
project: qa / environment: test
A URL to test
Browser · API client
Your automated suite
Example architecture. You choose the app, dependencies and tests.
Run the app with its database, cache or queue. Exercise the connections between components against a deployed system.
Deploy a specific release image, load known test data and point your existing browser or API tests at its HTTPS URL.
Create a separate environment for a failing version. Give developers the URL, image tag and logs so they can investigate the same setup.
Try it yourself
Start with a small web app to check the setup. Then bring your own application, dependencies and test data.
01 / Prepare the server
Replace the example IP, SSH key and email with your own. Kipper installs the cluster and console. Complete the browser sign-in when prompted, then check that the platform is ready.
Already have a Kipper cluster? Use that cluster and start with step 2.
curl -sL https://getkipper.com/install | sh
kip install --host 203.0.113.10 \
  --ssh-key ~/.ssh/id_ed25519 \
  --admin-email admin@example.com
kip status
02 / Get an app online
Create a project with a test environment, then deploy nginx as a smoke test. Open the HTTPS URL printed by the deploy command and look for the welcome page.
kip project create qa --environments test
kip app deploy --name hello \
  --image nginx:stable --port 80 \
  --project qa --environment test
kip app list --project qa --environment test
Next, deploy your own app with its image and listening port, or build from a Git repository with a Dockerfile. For repeatable test runs, use a specific release tag or digest and configure the app's readiness endpoint.
Deploy your own app →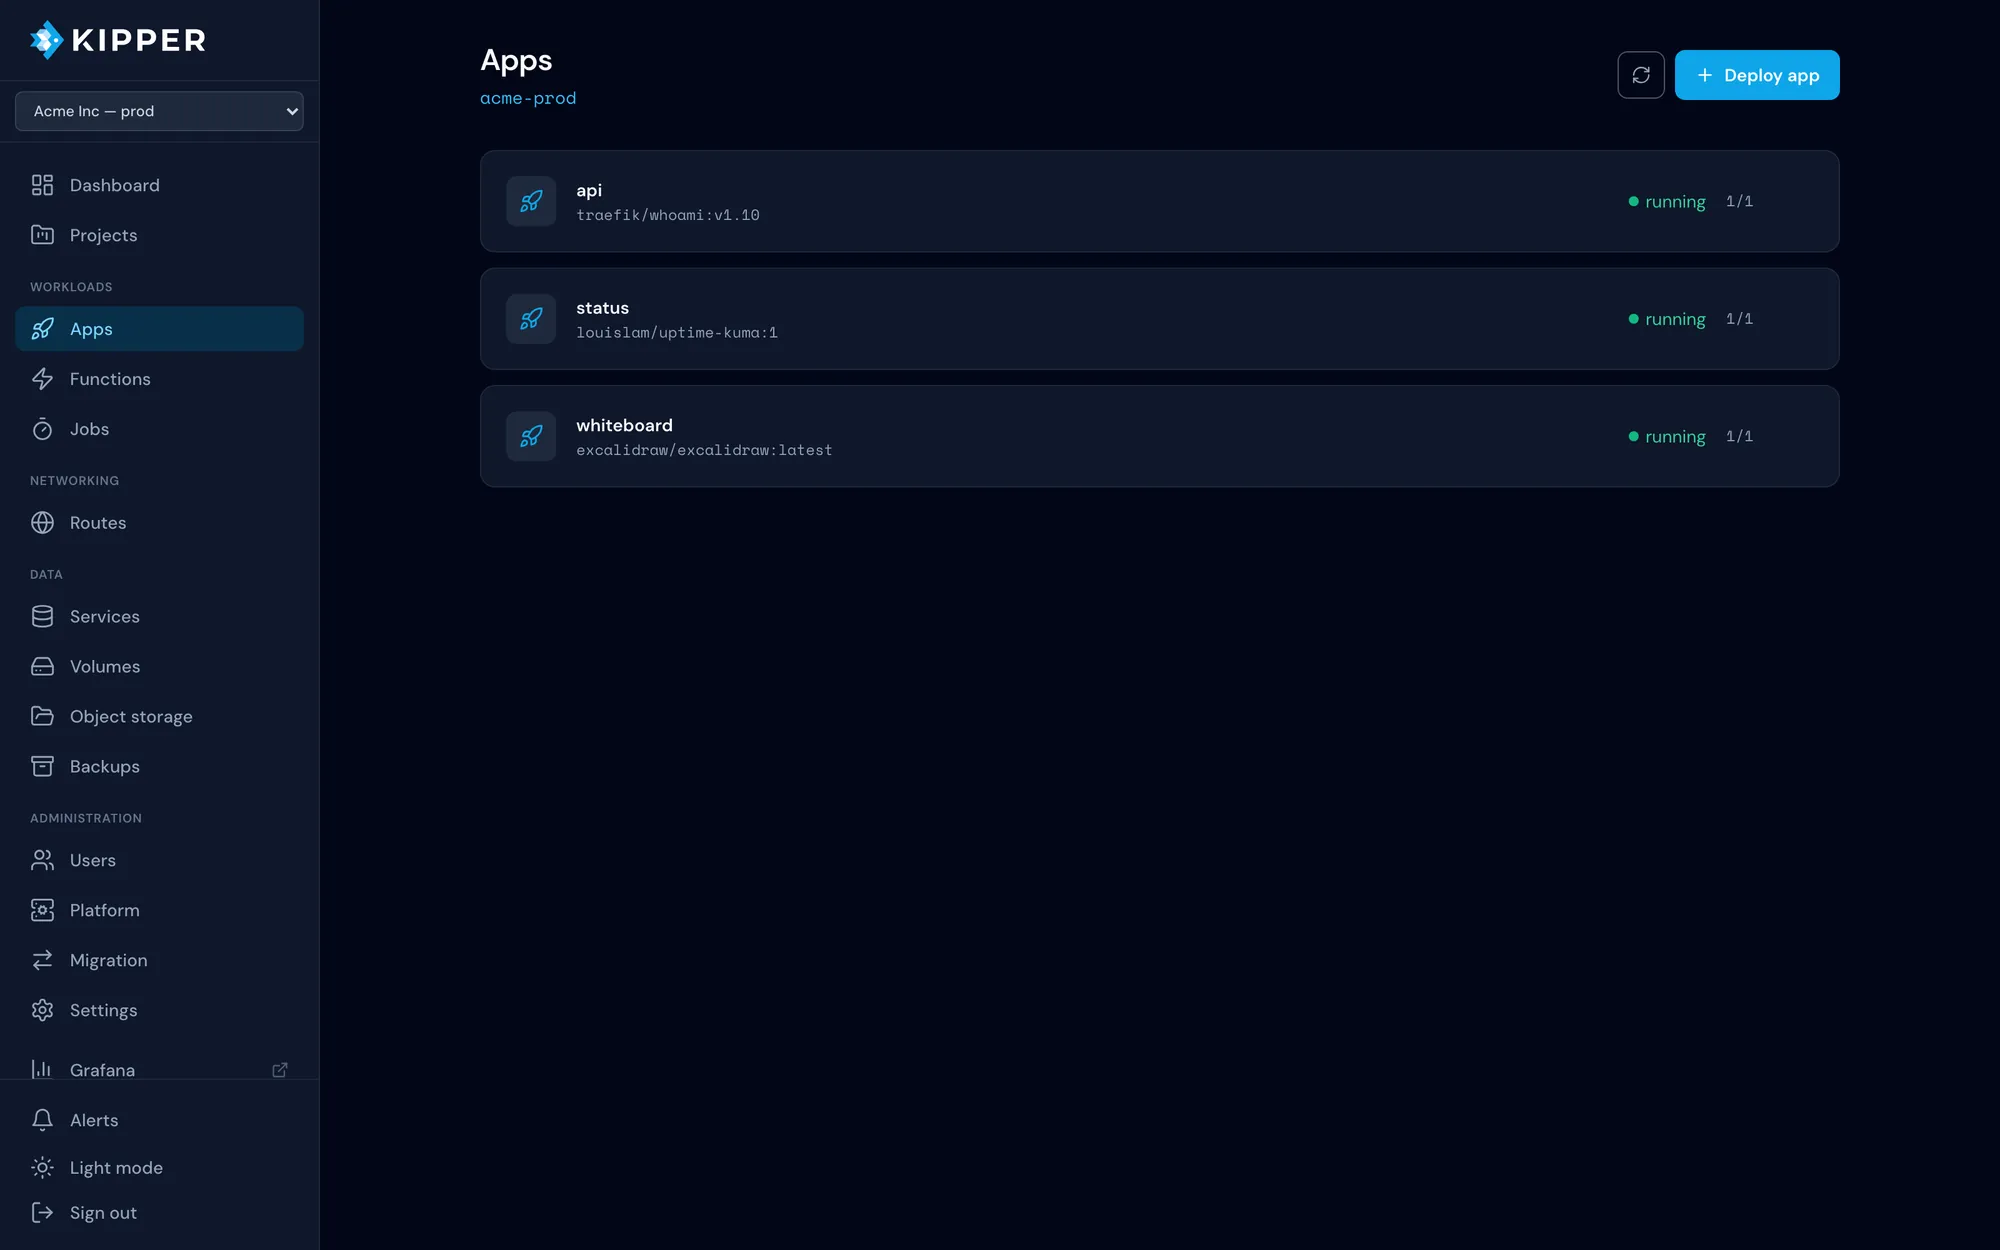
03 / Bring the dependencies
If your app uses PostgreSQL, add a database in the same environment and bind it to the app. Replace YOUR_APP with your app name. The nginx smoke test does not need a database.
kip service add postgres --name db \
  --project qa --environment test
kip service bind db YOUR_APP \
  --project qa --environment test
Bindings supply connection details through environment variables. Configure your app to use those variables, then run its migrations and load synthetic test data.
Connection variables and supported services →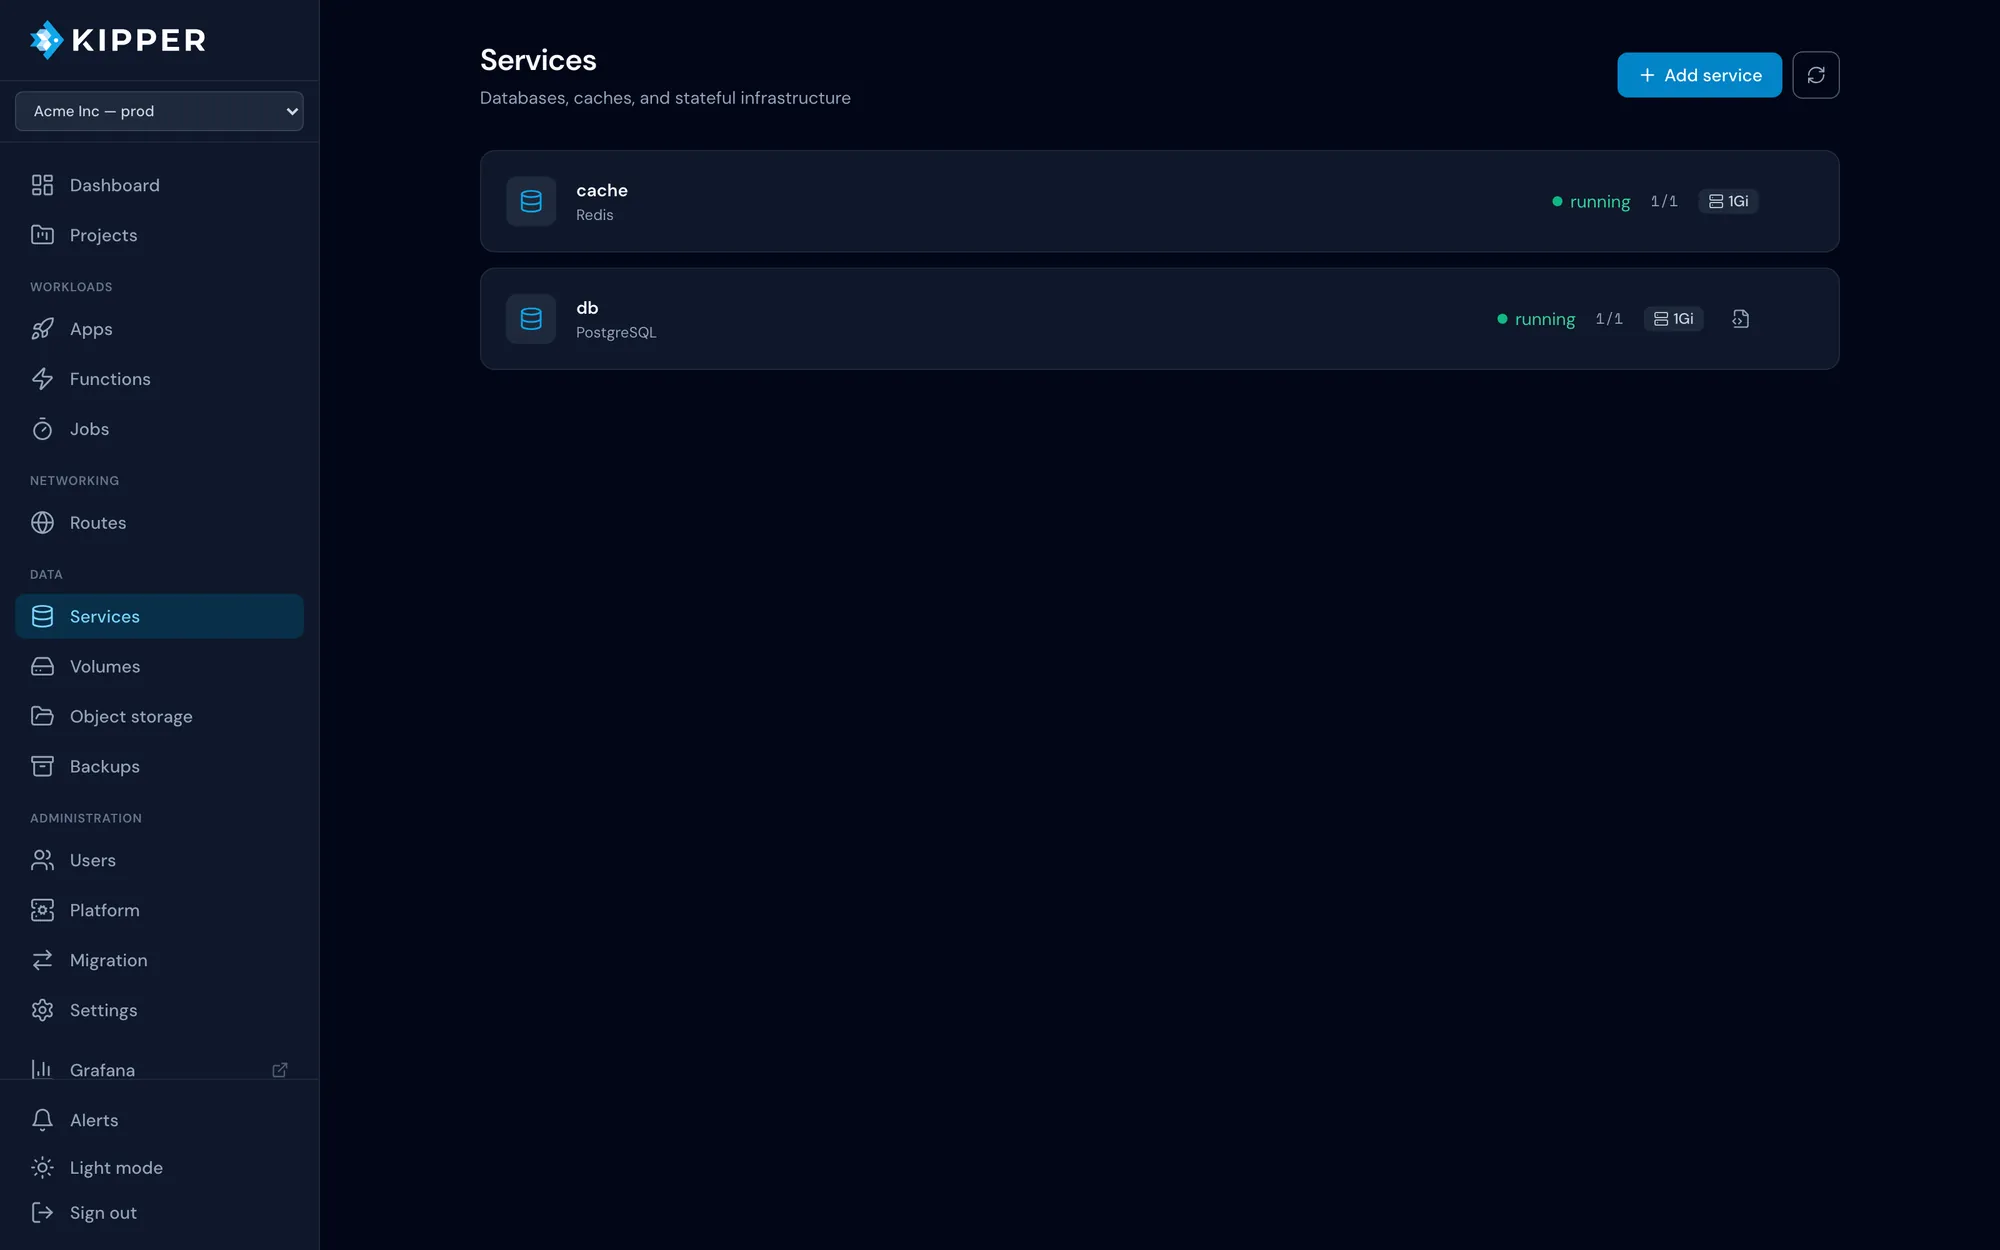
04 / Test, inspect, repeat
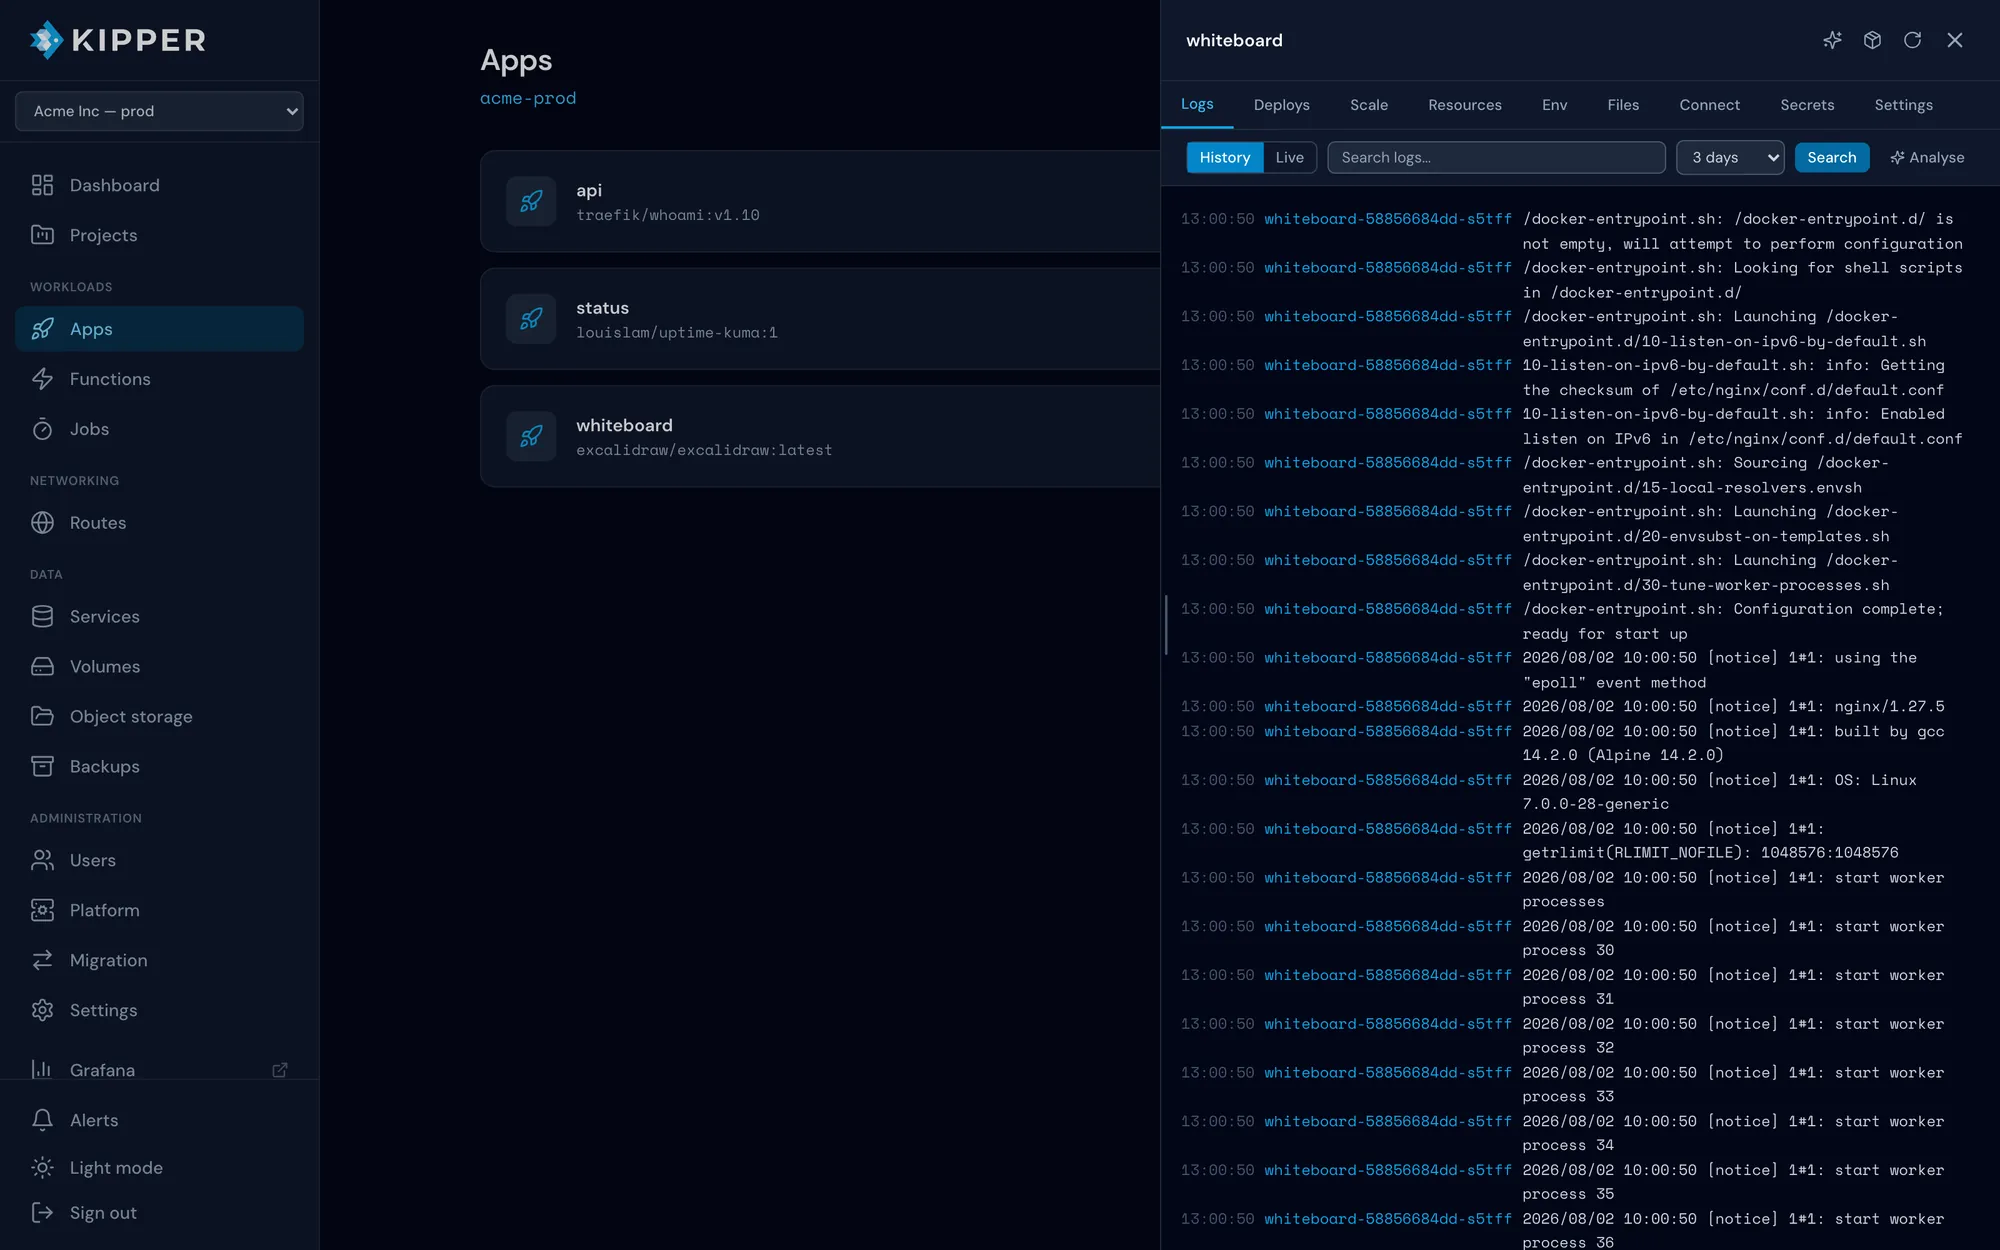
Use the app URL for exploratory testing or as the base URL in your existing browser and API tests. Follow the logs while reproducing a failure, from the console or CLI.
kip app logs hello -f \
  --project qa --environment test
Replace hello with your app name. Record the image version, test inputs and logs with each bug report. Kipper hosts the system under test. Use your test runner to check its behavior and report results.
Kipper includes a SKILL.md that teaches a compatible coding agent how to use the CLI. Use it with your app's instructions to set up a test environment.
Sign in through a browser when prompted, and provide the credentials and setup instructions your app needs. Run your tests to check that the deployed app behaves correctly.
Read Kipper's SKILL.md →Use Kipper's SKILL.md to prepare this app for QA.
Target: my approved Linux server and project qa / test.
Read this repository's build and deployment instructions.
Identify its image or Dockerfile, port, services and secrets.
Use a specific release tag or digest for the test build.
Deploy with kip and configure the app's readiness endpoint.
Run the documented migrations and load synthetic test data.
Verify the HTTPS URL and run the project's smoke tests.
Ask me to complete browser sign-in when required.
Stop and report missing credentials or failed checks.
Do not modify production or delete existing environments.
Return the URL, deployed version, test results and log access.Update the server, project, environment and app details before giving this brief to your agent.
Bring a server and a build. Follow the setup guide, get your first URL working, then add the services and tests your project needs.
Get started with Kipper